Installation to a memory card
Web Radio control needs to be installed to a micro SD memory card, so that it can be run in a Raspberry Pi. These installation instructions are suitable for Windows, Mac OS and Linux operating systems. In addition to a Raspberry Pi, you will need another computer with a (micro) SD card reader to install the software to a memory card.
Web Radio Control software installation package is a ZIP-compressed memory card image file and this file needs to be written to the memory card.
The micro SD card has to be rated Class 10 or UHS-I and its size has to be at least 8 GB. 16 GB or 32 GB cards have longer life because of larger number of supported write operations. It is recommended to use microSD cards from a well-known manufacturer, such as SanDisk, Kingston, Lexar or Samsung, because low-quality SD cards are known to be unreliable.
Installing the image file to a memory card
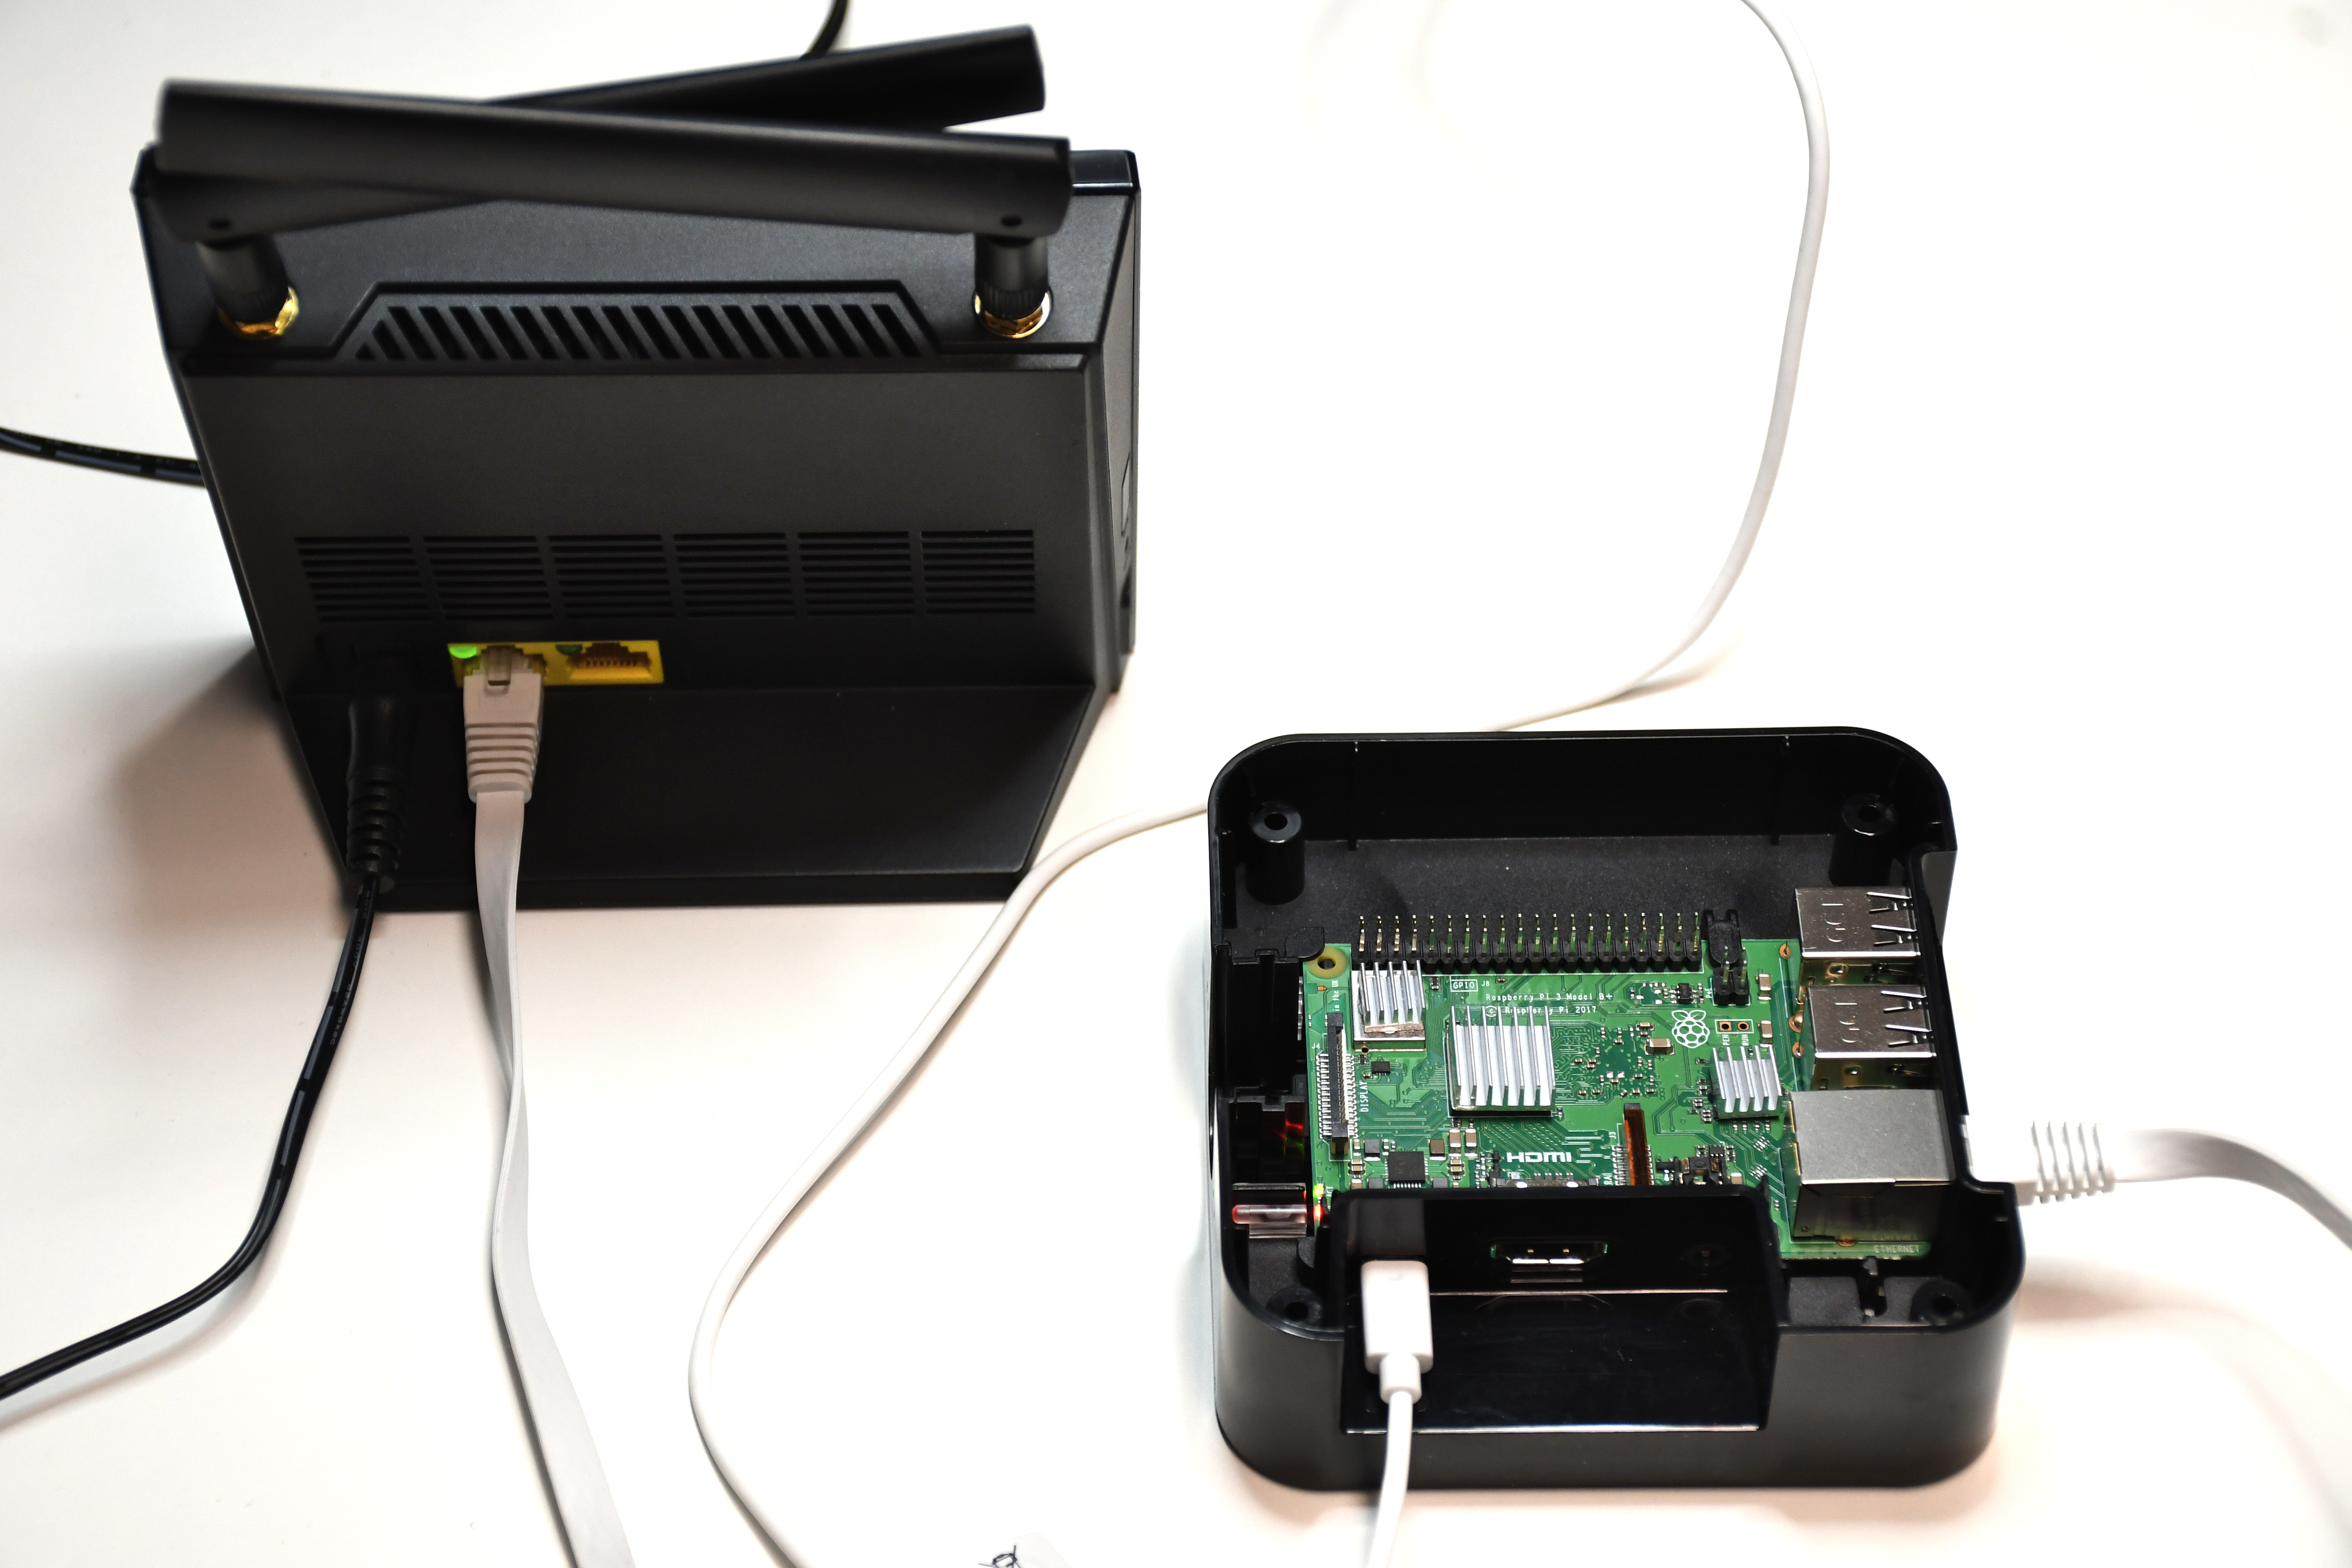
An example photo of a Raspberry Pi with SD card inserted, USB power cable connected and the Ethernet cable connected to a 4G modem:
These installation instructions require use of a simple memory card writer application called Etcher.
-
Download the Web Radio Control software image file using a web browser. You can find the link for the file in an email you have received along with Web Radio Control license details.
-
Web Radio Control is available for purchase and you can download a free trial version.
-
-
Extract the image file from the compressed ZIP file (which produces a file with
.imgextension) -
Download Etcher from https://etcher.io/, install it, run it and follow the instructions of the application to write the image file to the memory card
-
Once the image has been written to the memory card, insert the memory card to Raspberry Pi micro SD card slot
-
Connect the Ethernet network cable and the power cable to the Raspberry Pi to start Web Radio Control
-
When starting up Web Radio Control for the first time, you will need to wait 5-10 minutes (depending on the speed of the memory card) for the installer to unpack and start up Web Radio Control server and user interface. You can follow the progress of the installation by checking if the green micro SD card activity LED in Raspberry Pi is lit: the green LED is lit constantly while the installation is in progress and it turns off once the installation is complete.
The 5-10 minute unpacking process happens only on first startup. After the first start-up time installation is complete, Web Radio Control server and user interface will start automatically at power-on without additional delays.