Configuration
These instructions document how to configure Web Radio Control software to control radio equipment and other accessories.
In order to proceed with the instructions, you should have:
-
WRC server software installed on a Raspberry Pi single-board computer
-
a router or a modem with Internet access, configured with the required port forwarding rules
-
knowledge of the local network (LAN) IP address of the WRC server Raspberry Pi computer
-
access to the web-based Web Radio Control setup user interface in address: http://webradiocontrol.local:8013/ or http://IP-ADDRESS:8013/ (use the LAN IP address if the
.localaddress doesn’t work) -
a DNS domain name, which points to the public IP address of the router/modem
Configuring the software
Please proceed through the instructions listed below to configure Web Radio Control server software.
Connect your radio transceiver to the Raspberry Pi computer
When using a radio transceiver with a built-in USB connection, simply connect the USB cable to the radio and to the Raspberry Pi.
When using a radio transceiver with a serial port and separate audio connectors, connect the USB — RS-232 adapter and the USB sound card to Raspberry Pi and make the corresponding connections to the radio serial port and audio input/output connectors.
An example photo of Raspberry Pi connected both to an Icom IC-7300 radio via a USB cable and to a 4G modem for Internet connectivity:

Open the Web Radio Control setup user interface
Open a web browser and navigate to address: http://webradiocontrol.local:8013/ or http://IP-ADDRESS:8013/ (use the
local network IP address you have determined previously if the .local address doesn’t work).
Please note that the address uses protocol http and port number 8013.
Configure the software in the setup user interface
The Web Radio Control setup user interface main screen:
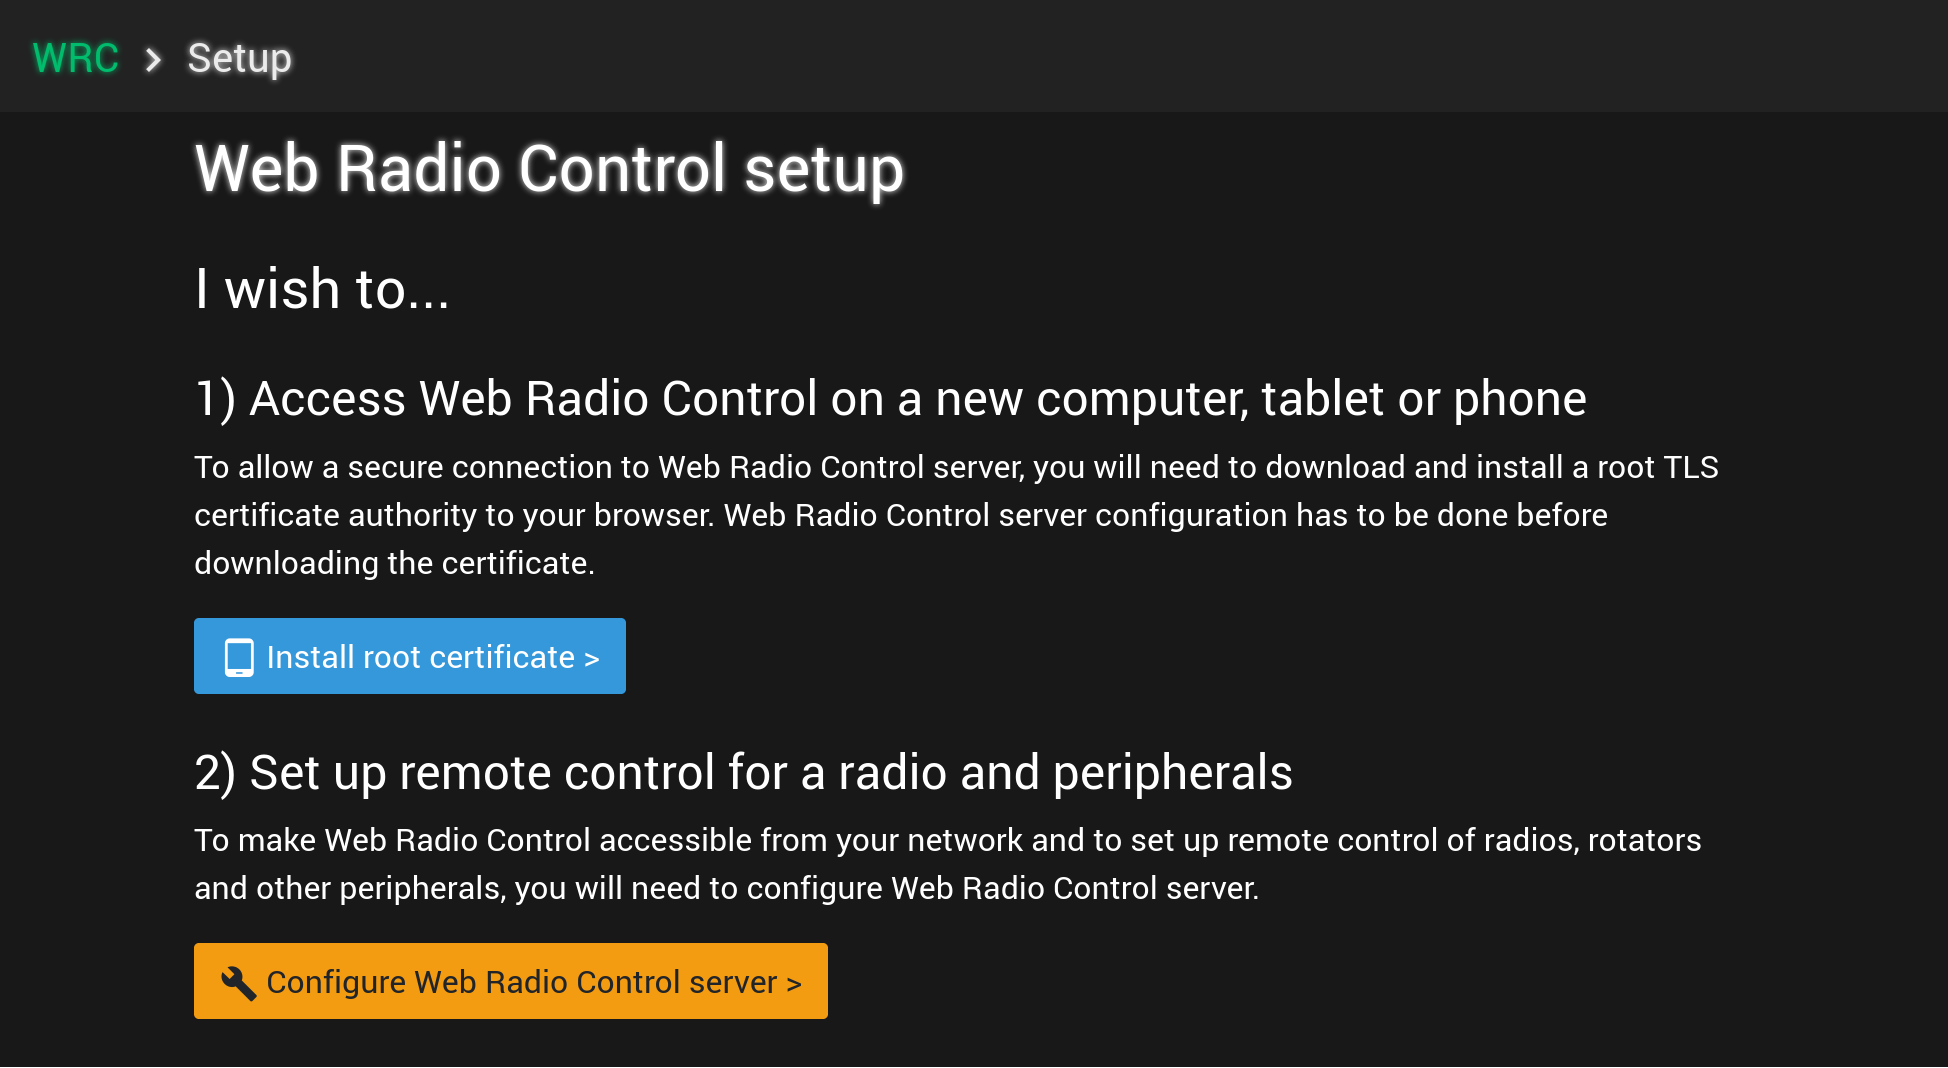
Begin the configuration process by clicking Configure Web Radio Control server under section 2) Set up remote control for a radio and peripherals.
Type the default password: web-radio-control-change-me! (including the exclamation mark), when the user interface
asks for a password.
Proceed through the setup user interface wizard
Proceed through setup user interface wizard by following the steps documented below:
1/5: Activate software
Activating your copy of the Web Radio Control software
2/5: Installing TLS root certificate authority
Installing TLS root certificate authority in a web browser for an existing domain name
3/5: Creating the configuration file
Creating Web Radio Control server configuration file for the equipment to be controlled
4/5: Uploading the configuration file
Uploading the configuration file to Web Radio Control server
5/5: Finish configuration
Finishing configuration and restarting Web Radio Control server